
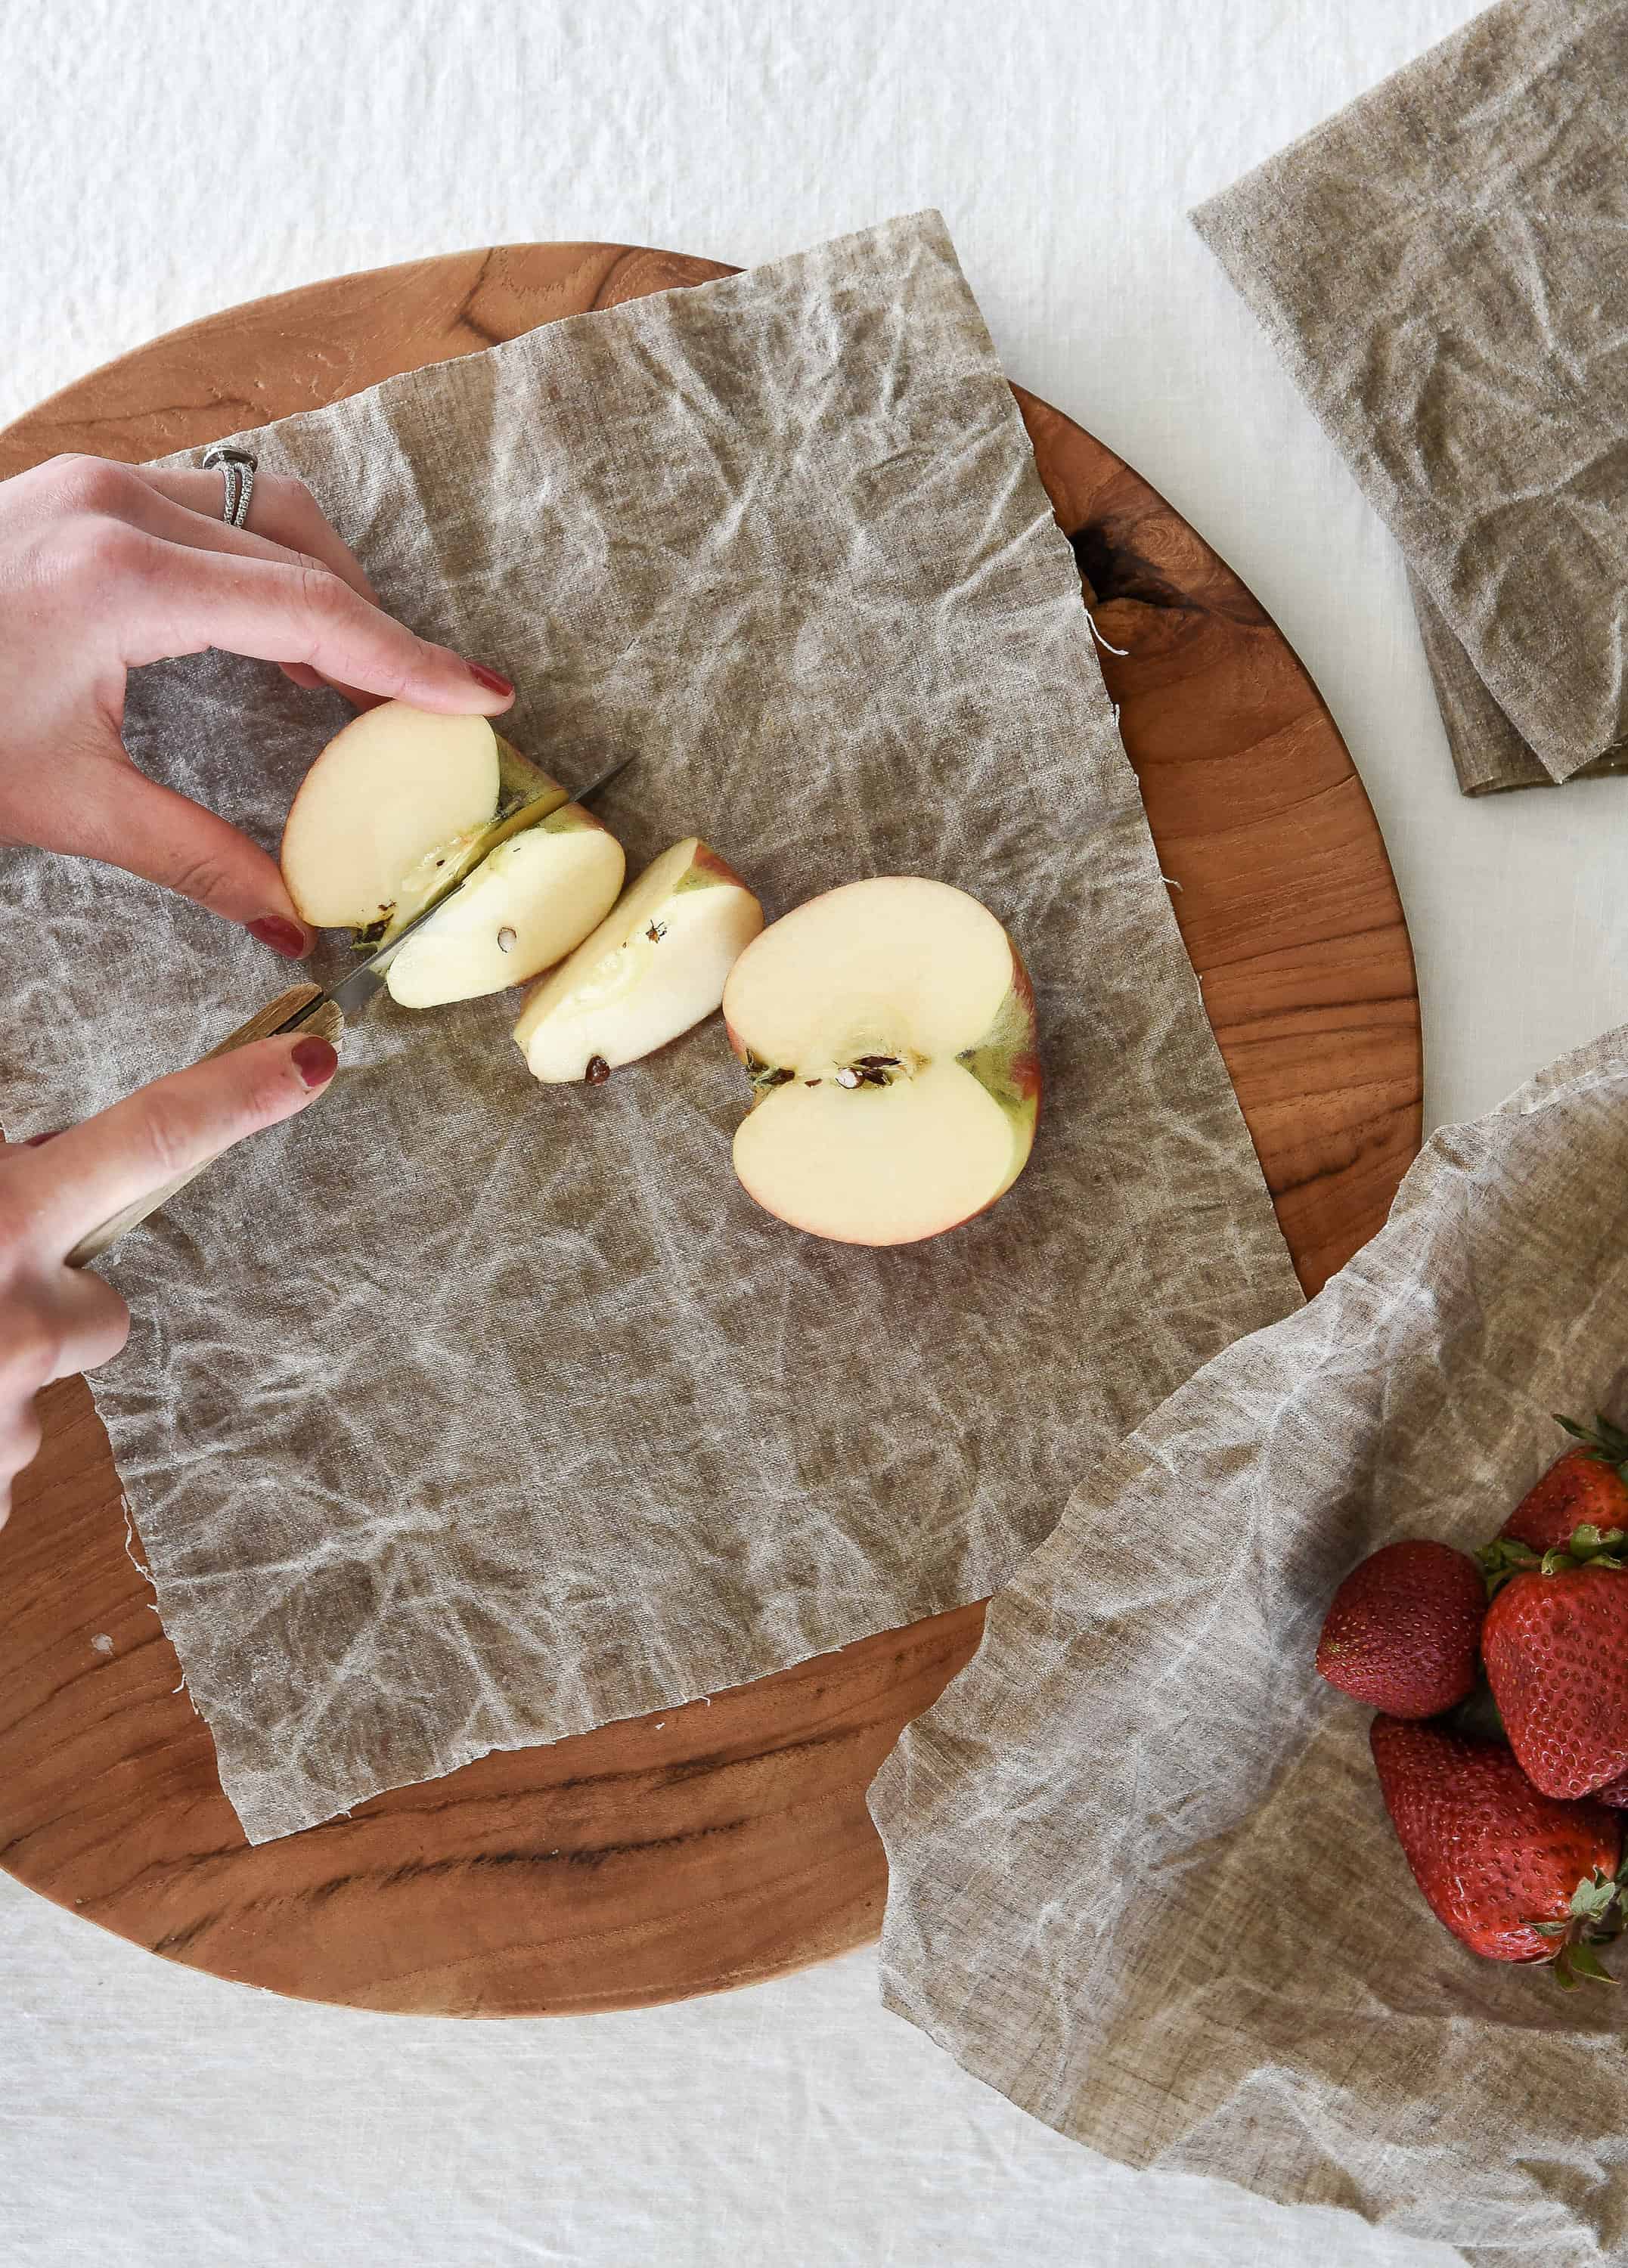
Bee Wrap Tuto DIY Les étapes de fabrication du bee wrap
Strike one. Second Attempt: Beeswax and Jojoba Oil These are two of the three ingredients in the wraps I had purchased, and this simple combination also seemed super easy to whip up.

Introducing the DIY Beeswax Wraps Kit SuperBee Diy beeswax wrap, Bees wax wraps, Wax wraps
Beeswax wraps are a great, sustainable alternative to plastic food coverings. To make beeswax wraps, start by cutting cotton fabric to your preferred size, and grating a block of beeswax into small pieces. Then sprinkle the beeswax over the fabric, and place it into the oven until the beeswax melts.

DIY Homemade Beeswax Wraps (Reusable Food Wraps) Homestead and Chill
This recipe makes enough mixture to cover 12 square feet of fabrics. It is more accurate by weight so we are providing both options 4 oz or 113 grams (1 heaping cup) beeswax, 1 oz or 28 grams (1/4 cup) pine resin, 1/2 oz or 14 grams (1/8 cup) Jojoba oil or mineral oil. Pin it! Get Our Top Secrets!

Bee Wrap DIY comment faire un emballage alimentaire réutilisable à la cire d'abeille ? Marie
1. Cut the fabric. Preheat the oven to 200°F or the lowest setting. Cut the fabric into sizes that will fit on your baking sheet.

DIY Créez vos BEE WRAP super facilement I do it myself Diy, Box creative, Coton
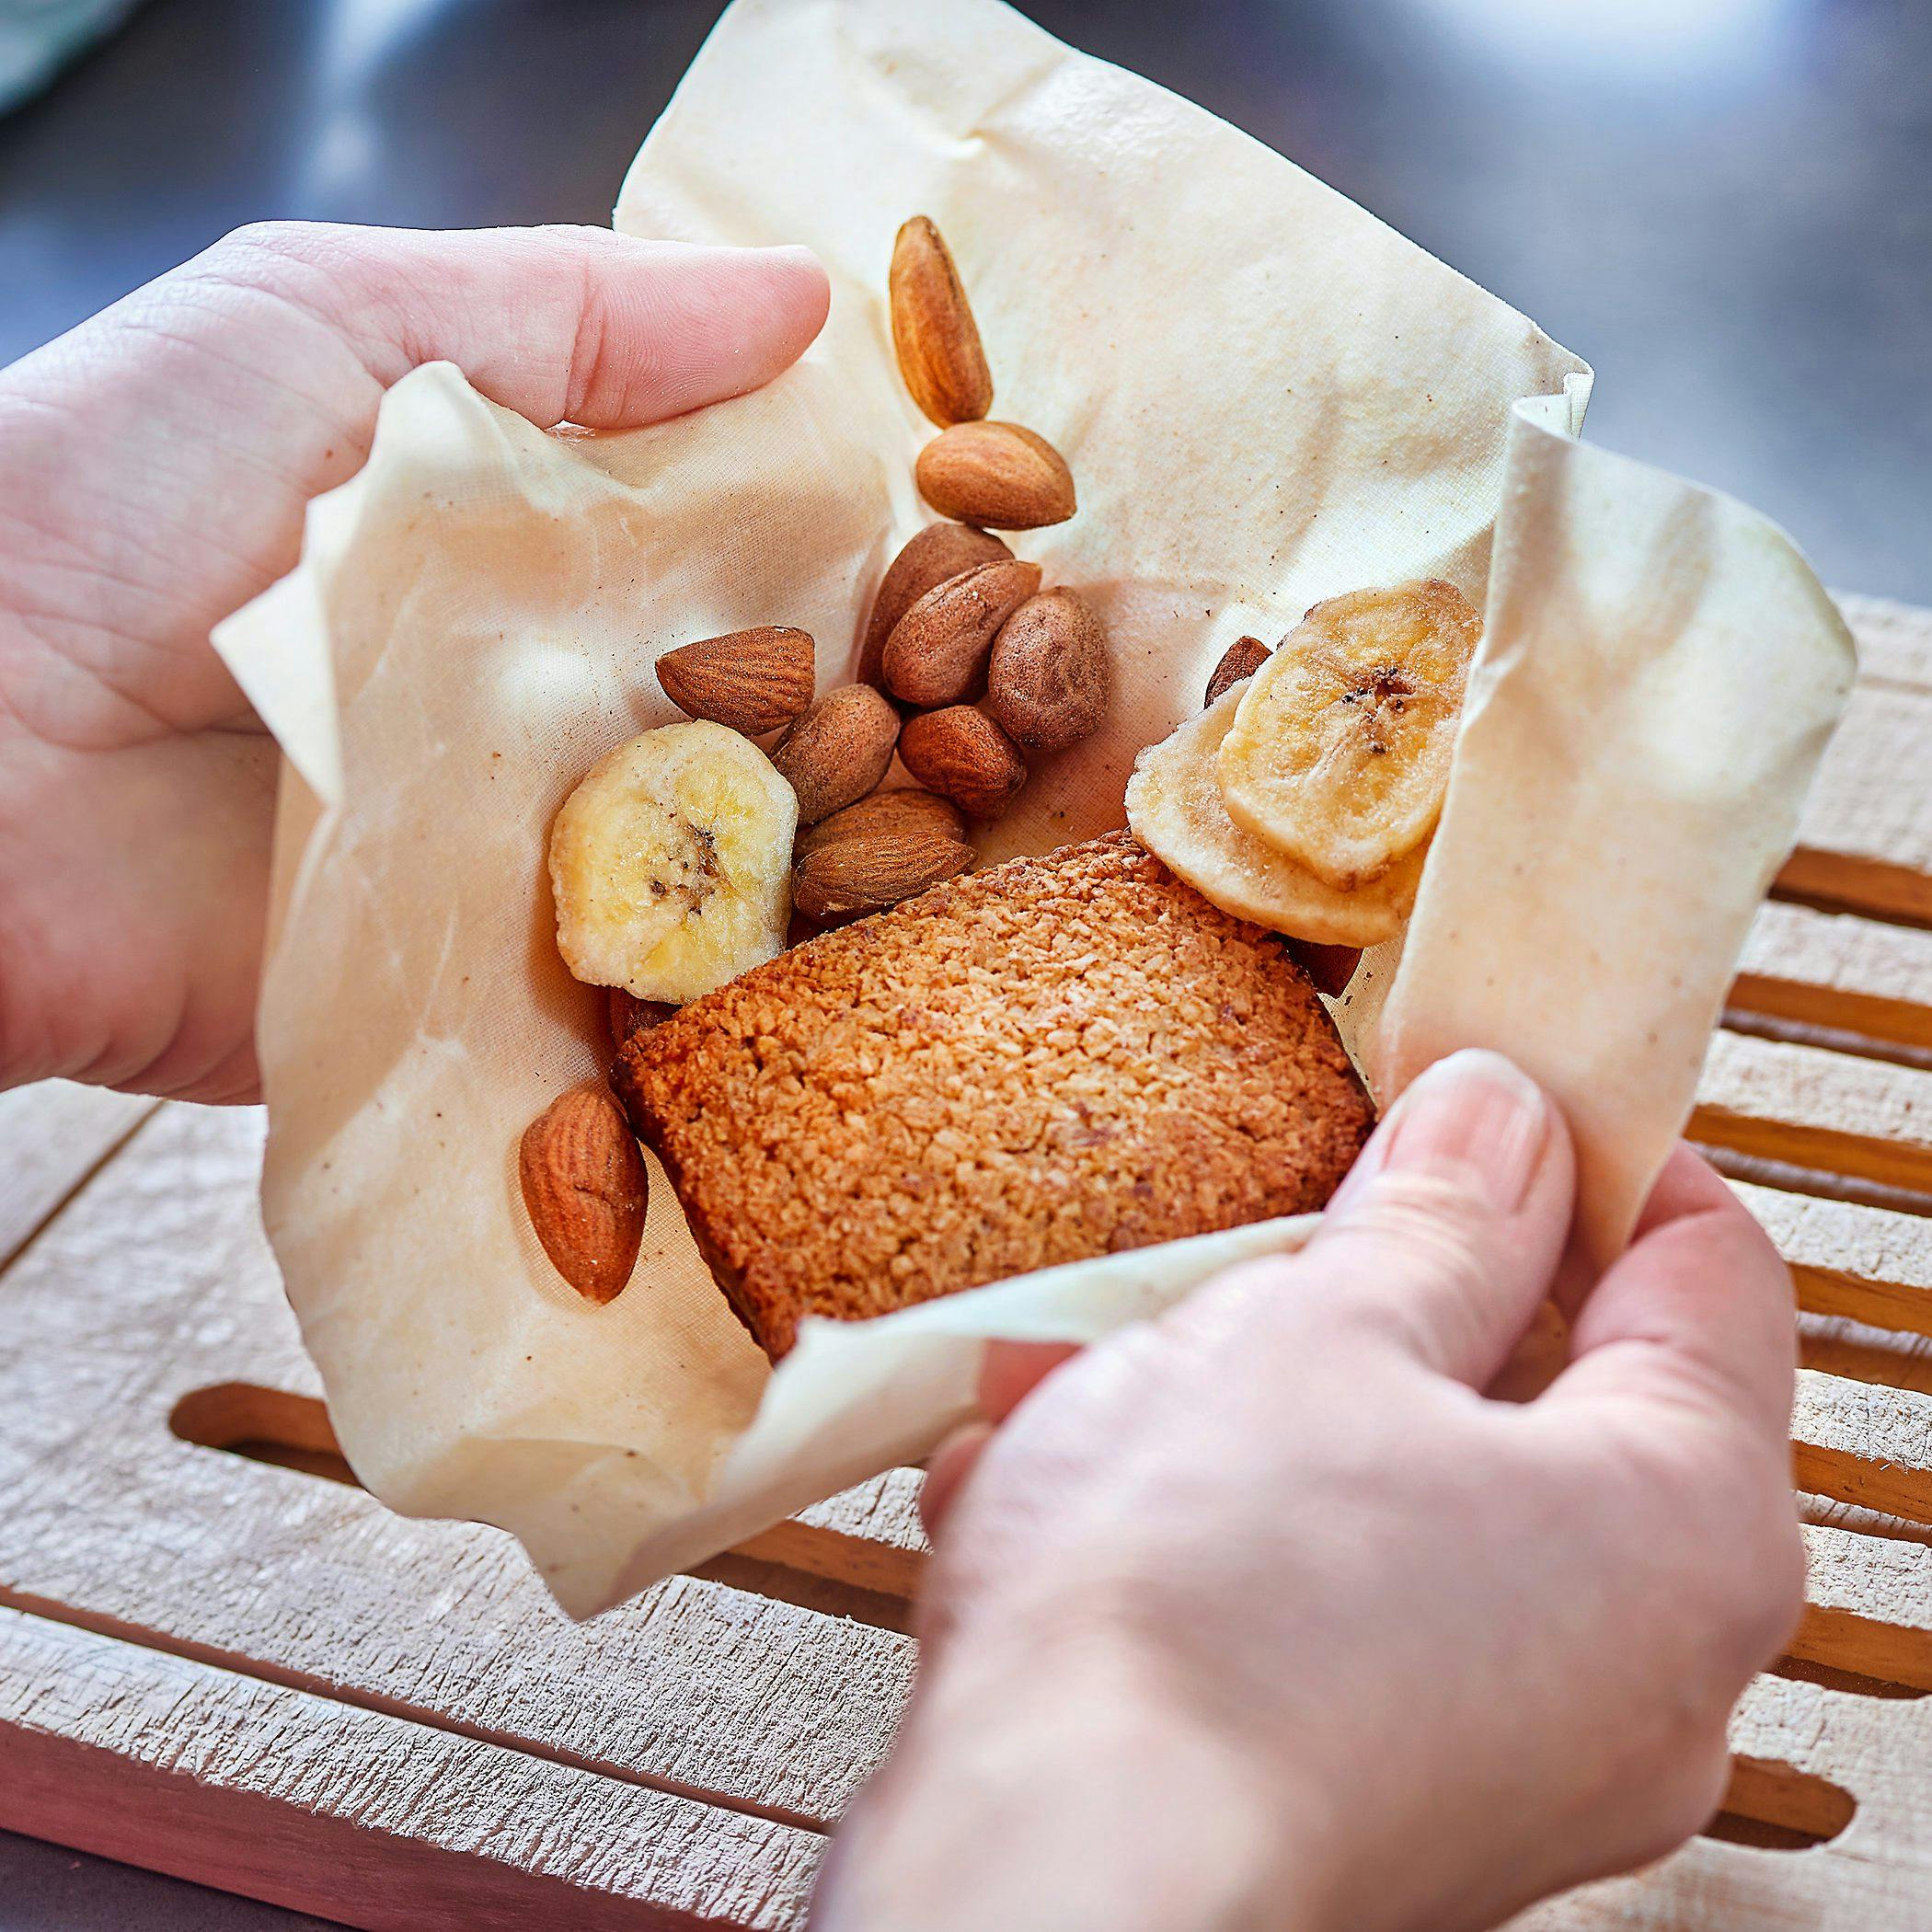
Beeswax wraps can be used to cover bowls, wrap sandwiches or store snacks. They replace single use snack bags, sandwich bags, plastic cling wrap, aluminum foil, and other single-use plastic or tin foil. They are eco-friendly, using renewable beeswax, tree resin, and organic cotton fabric.
DIY Beeswax Wrap Boxwood Ave
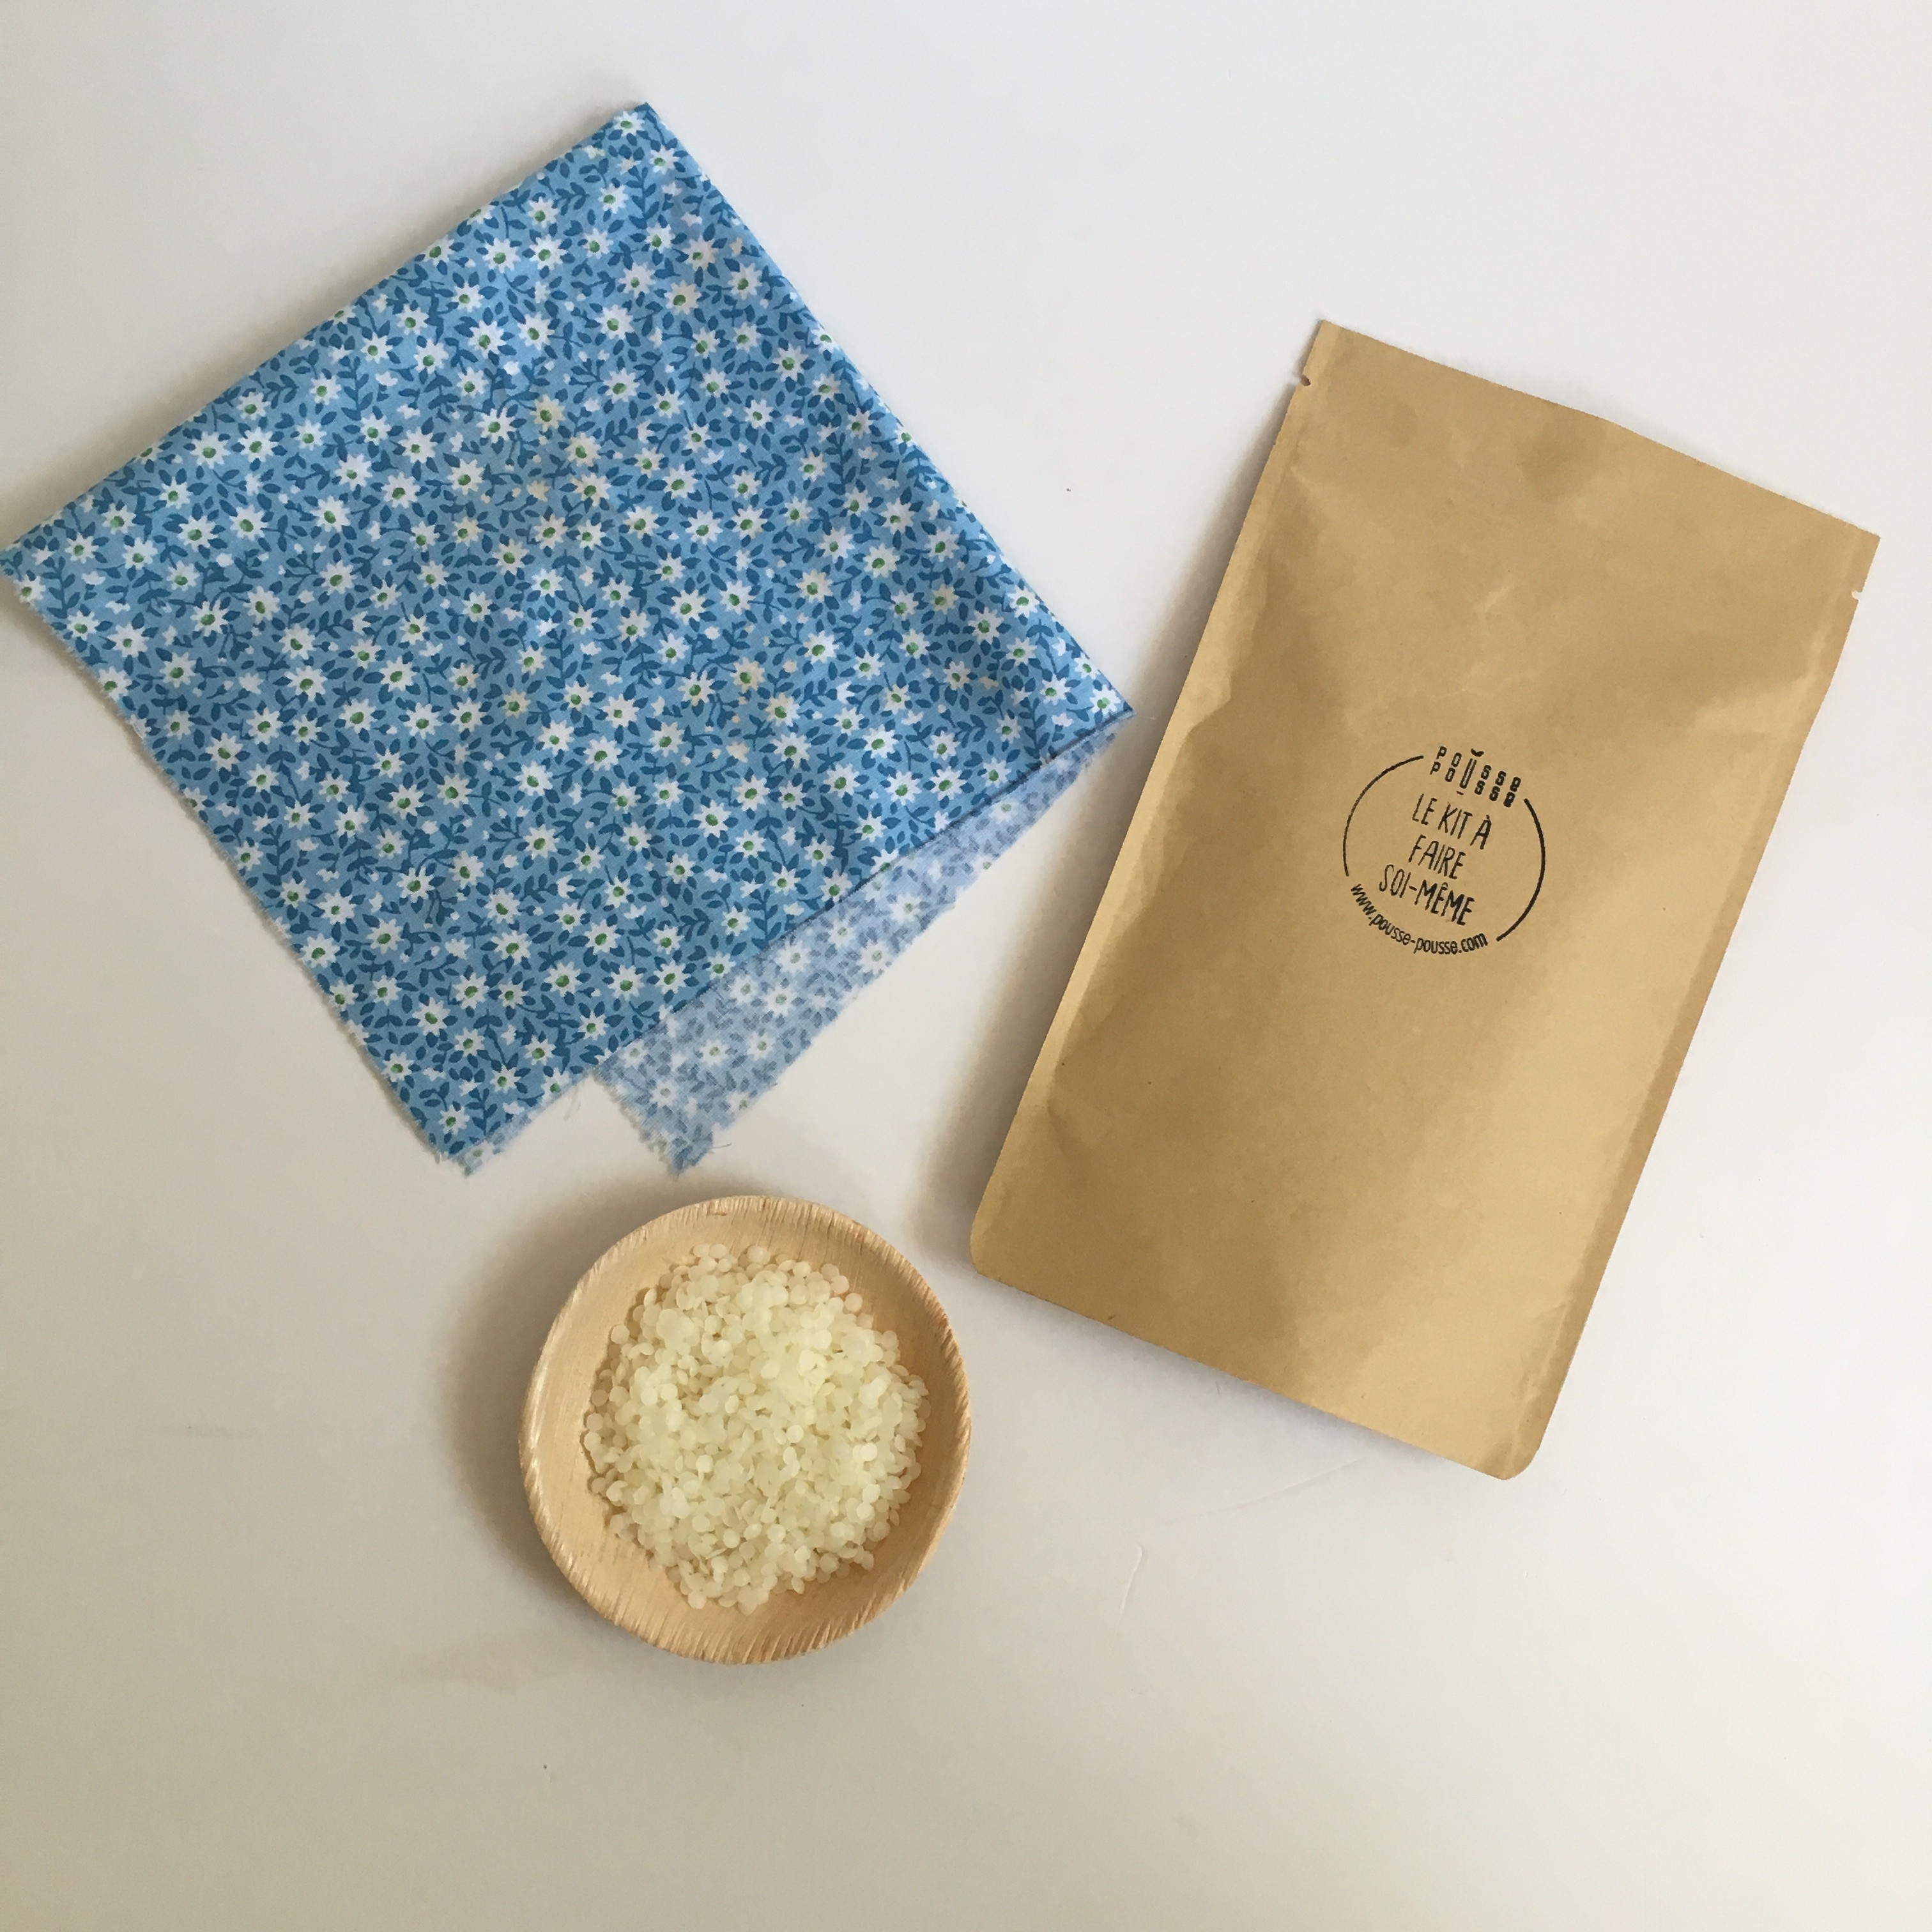
cotton cloth Beeswax Beeswax is available for purchase in many different forms. Wax pastilles or beeswax pellets are easy to measure and melt but they do cost more per ounce. Raw wax in block form works very well. If you use wax from your own hives or buy from a beekeeper - make sure the beeswax is cleaned.
Kit diy je fabrique mon bee wrap Nature & Découvertes
After many months of fiddling, I've come up with an even better way to make a DIY beeswax wrap that makes it extra sticky and easier to use. Subscribe to m.

Kit DIY Bee wrap • Angie Be Green
Lastly, flip the DIY beeswax wrap fabric over and paint the other side. Hang it to dry. If you want to see a video of the whole process, you can watch my Instagram reel . I've messed with the recipe a bit since making these so go with the recipe here versus what you see in the IG video. Hopefully I'll make a YouTube one soon.

Mother's Kitchen DIY Beeswax Wraps
1. Pre-heat the oven to its lowest setting (or 200F). (Image credit: Amelia Lawrence/Apartment Therapy) (Image credit: Amelia Lawrence/Apartment Therapy) 2. Using pinking shears, cut your fabric into the shapes you want.

Bee Wrap Tuto DIY Les étapes de fabrication du bee wrap
Make sure your parchment paper has at least a 3-inch overlap of your fabric to avoid hot wax getting on your iron. If you do get wax on your iron, wipe it off immediately on the towel. Beeswax on your iron will smoke enough to set off your fire alarms. Wear gloves.

DIY zéro déchet Je fabrique mon Bee Wrap PoussePousse
Beeswax wraps are made primarily of cotton fabric and beeswax, and extras like jojoba oil and pine resin can be added to make them softer and stickier. How does a beeswax wrap work? You can wrap it around food and bowls using the warmth of your hands to activate the wax and seal the wrap together.

DIY Bee wrap tissu patchwork et cire d'abeille Idées conseils et tuto Zéro Déchets
Place pan in oven and let it "bake" for 5 minutes. Remove pan and use the brush to spread the beeswax around the cloth, making sure to get it to all the edges. Then flip the cloth to the other side and place back in the oven. Let the wax melt again for 3 more minutes, then remove pan and brush again.

DIY Beeswax Cling Wraps Purely Katie
Beeswax wraps, also known as beeswax food wraps or simply wax wraps, are a sustainable and reusable alternative to plastic wrap or aluminum foil for food storage. They are made by infusing pieces of cotton fabric with a mixture of beeswax, resin, and jojoba oil, which creates a pliable, moisture-resistant, and antimicrobial covering for food.
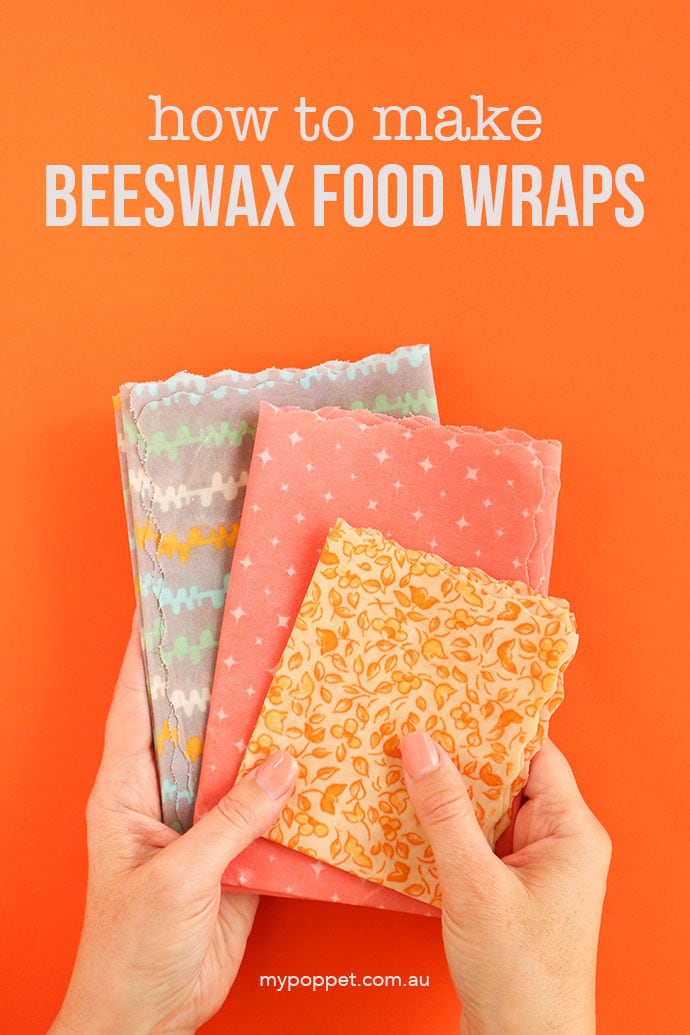
DIY Beeswax Wraps Make these Easy Reusable Food Wraps
Bees Wrap is a great investment because it's long lasting, but it is an investment. This DIY version is much more affordable, especially if you buy in bulk and have a make-and-take party with friends. You can also choose beautiful prints - the reusable wrap pictured is a lightweight organic cotton fabric from Monaluna that I got a great deal on.
Bee wrap tuto maison La Fourche
Step 2: Prep for the Oven. It is time to prep them for the oven. Beeswax melts at 145 degrees F so you will need to preheat your oven to the lowest setting (150°F to 200°F) and lay your parchment paper on a baking tray. Lay your fabric down on top. Then, sprinkle beeswax pastilles or shavings over the material.

All You Need Know to Make DIY Beeswax Wrap Diy beeswax wrap, Bees wax wrap diy, Bees wax wraps
Estimated Cost: $30 Make your own DIY reusable beeswax wraps in less than an hour with this quick project that's perfect for anyone looking for a fun way to get rid of some waste in their kitchen. Plastic wrap is a pain to deal with—plus, it's not reusable. These beeswax wraps can be used in place of plastic wrap to cover jars or bowls.